Cheesy Garlic Breadsticks Recipe: Soft, Buttery, and Loaded with Melted Cheese
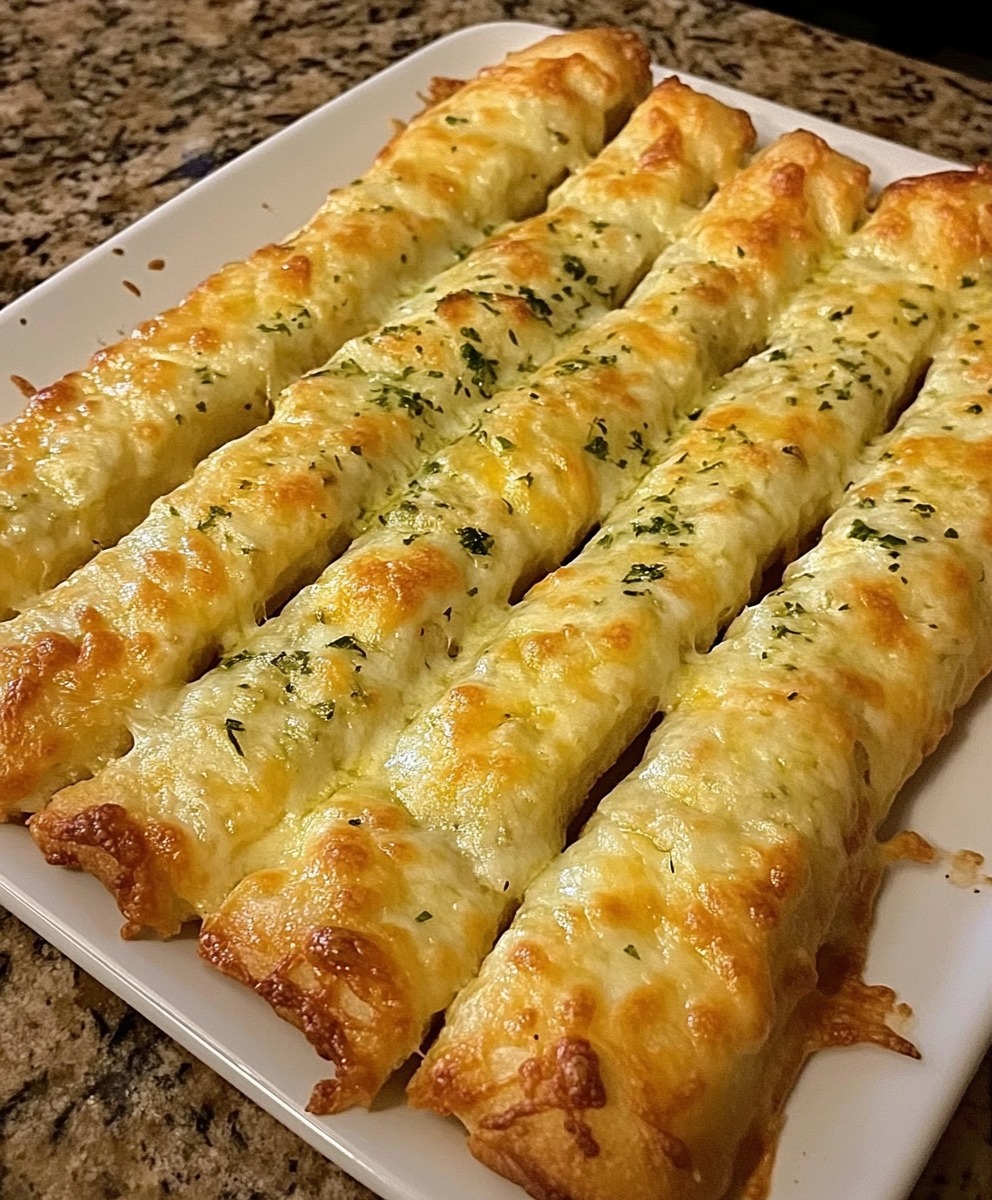
If you are looking for a homemade bread recipe that is simple, comforting, and guaranteed to impress, these Cheesy Garlic Breadsticks are exactly what you need. They are soft on the inside, slightly crisp around the edges, brushed with flavorful garlic butter, and topped with a generous layer of melted mozzarella and parmesan cheese. Whether you serve them as a snack, appetizer, side dish, or party favorite, these breadsticks are always a hit.
This recipe is perfect for any time of year because it uses basic pantry ingredients and delivers bakery-style results right from your own kitchen. The dough is easy to prepare, the topping is full of savory flavor, and the final result tastes amazing fresh out of the oven. If you love cheesy bread, garlic butter, and warm homemade baking, this is one recipe you will want to make again and again.
Why You Will Love These Cheesy Garlic Breadsticks
There is something irresistible about warm bread topped with melted cheese and garlic butter. These cheesy garlic breadsticks are not only delicious, but they are also incredibly versatile. You can enjoy them with pasta, soup, salad, or your favorite dipping sauce. They also make a wonderful snack for movie nights, game days, family dinners, or casual get-togethers.
Another reason this recipe stands out is the texture. The bread is soft and fluffy, while the top becomes golden and bubbly after the final bake. The combination of mozzarella for stretchiness and parmesan for salty richness gives each bite a balanced, satisfying flavor. The fresh parsley on top adds a pop of color and freshness that makes the breadsticks even more inviting.
What Makes This Recipe Special
Unlike store-bought frozen breadsticks, this homemade version gives you full control over the flavor and texture. The dough is enriched with butter and milk, which helps create a tender crumb. Letting the yeast bloom first gives the bread a better rise and lighter texture. After the first bake, the garlic butter and cheese are added, then the bread goes back into the oven so the topping can melt beautifully and turn slightly golden.
This two-step baking method makes a big difference. It ensures the dough cooks properly before the cheese is added, so you get breadsticks that are fully baked, cheesy, and never soggy.
Ingredients for Cheesy Garlic Breadsticks
To make these homemade cheesy garlic breadsticks, you will need simple ingredients that work together to create a flavorful and comforting result.
For the Bread
- 1 ½ cups plus 2 tablespoons all-purpose flour
- 1 tablespoon dry instant yeast
- 3 tablespoons unsalted butter, cubed and at room temperature
- ½ tablespoon granulated sugar
- 1 cup lukewarm milk
- 1 teaspoon salt
- Lukewarm water, as needed
- Cornmeal, for dusting
For the Topping
- 2 cloves garlic, minced
- 2 tablespoons unsalted butter, softened
- 1 teaspoon Italian herb seasoning
- 1 ⅓ cups mozzarella cheese, grated
- ½ cup parmesan cheese, grated
- Salt and pepper, to taste
- A handful of fresh parsley, chopped

How to Make Cheesy Garlic Breadsticks
Making cheesy garlic breadsticks from scratch may sound complicated, but the process is very manageable. Once you break it down step by step, it becomes an easy and rewarding recipe.
Step 1: Bloom the Yeast
In a medium bowl, combine the lukewarm milk, yeast, sugar, and 2 tablespoons of all-purpose flour. Stir well and let the mixture sit at room temperature for about 10 minutes. When the yeast is active, the surface should look foamy and bubbly. This step helps confirm that the yeast is working and ready to make the dough rise.
Step 2: Prepare the Dough
In a large mixing bowl, combine the remaining flour with the cubed butter. Use a fork or your fingers to mix the butter into the flour until the texture becomes crumbly, similar to coarse sand. Add the salt and mix again.
Pour the yeast mixture into the flour mixture and begin kneading. Add lukewarm water gradually as needed until a soft dough forms. Knead until the dough becomes smooth and elastic.
Step 3: Let the Dough Rise
Place the kneaded dough in a clean, deep bowl. Drizzle it lightly with olive oil and turn the dough so it is coated on all sides. Cover the bowl with a clean kitchen towel and let it rest for about 1 hour, or until the dough has doubled in size.
Step 4: Make the Garlic Butter
While the dough is rising, prepare the topping. In a small bowl, mix the softened butter, minced garlic, Italian herb seasoning, salt, and pepper. Set it aside so the flavors can blend together.
Step 5: Shape the Dough
Dust a baking sheet pan with cornmeal. Once the dough has risen, transfer it to a lightly floured surface. Knead it for 5 to 8 minutes until smooth. Roll it out into a rectangle about 1 inch thick.
Carefully transfer the dough to the prepared baking sheet and gently stretch or press it into shape with your fingers. Cover it again with a kitchen towel and let it rest for another 15 to 20 minutes.
Step 6: First Bake
Preheat your oven to 400°F. Bake the dough for 15 minutes. This initial bake helps set the structure of the bread before the topping is added.
Step 7: Add the Topping
Remove the partially baked bread from the oven. Brush the garlic butter mixture evenly over the surface. Sprinkle the mozzarella and parmesan cheese generously on top.
Step 8: Final Bake
Increase the oven temperature to 450°F. Return the bread to the oven and bake for 8 to 10 minutes, or until the cheese is melted, bubbly, and lightly golden.
Step 9: Slice and Serve
Take the cheesy bread out of the oven and let it cool for a minute or two. Cut it into sticks, sprinkle with fresh parsley, and serve while hot.
Tips for the Best Homemade Garlic Breadsticks
To make sure your cheesy garlic breadsticks turn out perfectly every time, keep these helpful tips in mind.
First, always use lukewarm milk rather than hot milk. If the milk is too hot, it can kill the yeast and prevent the dough from rising. Second, do not skip the resting times. Allowing the dough to rise properly gives the breadsticks a softer and fluffier texture.
When adding water to the dough, do it little by little. You want the dough to be soft and workable, not sticky or overly wet. If the dough feels too sticky, add a very small amount of flour. If it feels too dry, add a little more lukewarm water.
For the topping, freshly grated cheese melts better and tastes richer than pre-shredded cheese. Fresh garlic also gives the breadsticks a stronger, more delicious flavor than garlic powder.
Serving Ideas
These cheesy garlic breadsticks pair beautifully with many meals. They are especially delicious with:
- pasta dishes like spaghetti, lasagna, or baked ziti
- creamy soups such as tomato soup or potato soup
- crisp green salads
- marinara sauce for dipping
- ranch dressing or garlic sauce
They can also be served on their own as a savory snack or appetizer. If you are planning a party, you can slice them into smaller portions for easy sharing.
How to Store and Reheat
If you have leftovers, let the breadsticks cool completely before storing them. Place them in an airtight container and keep them in the refrigerator for up to 3 days.
To reheat, place the breadsticks in a preheated oven at 350°F for about 5 to 8 minutes, or until warmed through and the cheese becomes melty again. You can also use an air fryer for a few minutes to restore some crispness. While the microwave is faster, it may make the bread softer instead of crisp.
Can You Freeze Cheesy Garlic Breadsticks?
Yes, these breadsticks can be frozen. After baking, let them cool completely, then wrap them tightly and place them in a freezer-safe container or bag. They can be frozen for up to 2 months.
When you are ready to enjoy them, reheat from frozen in the oven at 350°F until heated through. This makes them a convenient make-ahead option for busy days or unexpected guests.
Variations You Can Try
One of the best things about homemade cheesy garlic breadsticks is how easy they are to customize. Here are a few ideas:
- add red pepper flakes for a spicy kick
- mix cheddar or provolone with the mozzarella
- sprinkle extra Italian seasoning on top
- add a little garlic powder for even more garlic flavor
- top with cooked bacon bits for a heartier version
- serve with pizza sauce for a fun pizza-style twist
These small changes can help you create a version that suits your family’s tastes.
Frequently Asked Questions
Can I use active dry yeast instead of instant yeast?
Yes, you can. Just make sure to let it bloom properly in the lukewarm milk mixture before adding it to the flour.
Why did my dough not rise?
This can happen if the yeast is old or the milk was too hot. Always check that your yeast becomes foamy during the blooming step.
Can I make the dough ahead of time?
Yes. You can prepare the dough, let it rise, then refrigerate it for later use. Bring it back to room temperature before shaping and baking.
What cheese works best for breadsticks?
Mozzarella is ideal for that stretchy, melty texture, while parmesan adds a deeper, salty flavor. Using both creates the best result.
Final Thoughts
These Cheesy Garlic Breadsticks are warm, buttery, cheesy, and full of flavor. They are the kind of homemade comfort food that everyone loves, and they work for so many occasions. From weeknight dinners to parties and family gatherings, this easy breadsticks recipe is a delicious addition to the table.
Once you try this homemade version, you may never want to go back to store-bought breadsticks again. The soft bread, rich garlic butter, and bubbling cheese make every bite absolutely worth it.