Indulge in a Luxurious Chocolate Caramel Ice Cream Cake
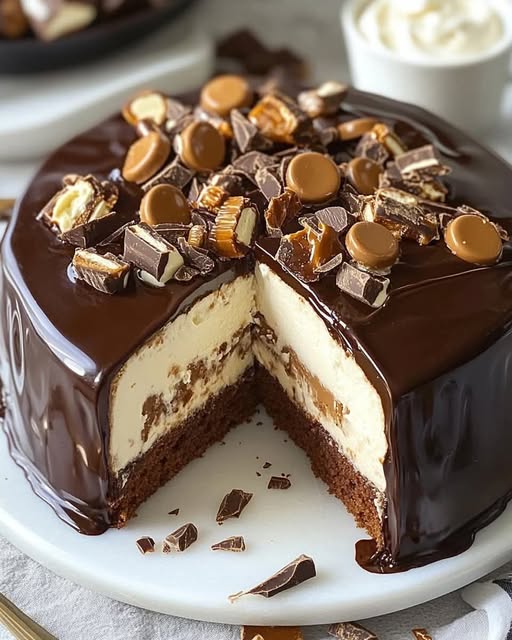
If you’re looking for a show-stopping dessert to elevate any occasion, this Chocolate Caramel Ice Cream Cake is the ultimate indulgence. Layers of moist chocolate cake, creamy caramel ice cream, and a decadent chocolate ganache come together to create a dessert that’s as stunning as it is delicious. Follow these easy steps to bring this masterpiece to life.
Ingredients
For the Cake Base:
- 1 cup (125g) all-purpose flour
- 1/4 cup (25g) cocoa powder
- 1 tsp baking powder
- 1/2 tsp baking soda
- 1/2 cup (100g) granulated sugar
- 1/2 cup (120ml) buttermilk
- 1/4 cup (60ml) vegetable oil
- 1 large egg
- 1 tsp vanilla extract
For the Ice Cream Layer:
- 2 pints (1 liter) vanilla ice cream, softened
- 1/2 cup (120g) caramel sauce
- 1/2 cup (50g) crushed chocolate candies or caramel bits
For the Chocolate Ganache:
- 1 cup (200g) semi-sweet chocolate chips
- 1/2 cup (120ml) heavy cream
Optional Toppings:
- Caramel drizzle
- Chopped nuts
- Chocolate shavings or sprinkles

Instructions
Step 1: Bake the Chocolate Cake
- Preheat the oven to 350°F (175°C) and line a 9-inch springform pan with parchment paper.
- In a large bowl, sift together the flour, cocoa powder, baking powder, and baking soda.
- In another bowl, whisk together the sugar, buttermilk, oil, egg, and vanilla until smooth.
- Gradually fold the dry ingredients into the wet mixture until just combined.
- Pour the batter into the pan and bake for 20-25 minutes or until a toothpick inserted into the center comes out clean.
- Let the cake cool completely before moving on to the next step.
Step 2: Create the Ice Cream Layer
- In a mixing bowl, combine the softened vanilla ice cream with caramel sauce and crushed chocolate candies.
- Spread the ice cream mixture evenly over the cooled cake base. Smooth the top with a spatula and freeze for 4-5 hours, or until firm.
Step 3: Make the Chocolate Ganache
- Heat the heavy cream in a saucepan until it begins to steam (do not boil).
- Pour the hot cream over the chocolate chips in a bowl. Let sit for 1-2 minutes, then stir until smooth and glossy.
- Allow the ganache to cool slightly before pouring over the ice cream layer.
Step 4: Add the Finishing Touches
- Once the ganache has set, decorate the cake with your chosen toppings such as caramel drizzle, chopped nuts, or chocolate shavings.
- Freeze for an additional 30 minutes before slicing and serving.
Tips for Success
- Keep it chilled: Always work quickly with the ice cream to avoid melting, and keep the cake in the freezer until you’re ready to serve.
- Customize the flavors: Swap the vanilla ice cream for coffee, chocolate, or even peanut butter ice cream for a fun twist.
- Neat slices every time: Use a sharp knife dipped in warm water to cut clean slices.
Serving Suggestions
- Pair this rich dessert with a glass of cold milk or a steaming cup of coffee for the perfect treat.
- For added flair, serve each slice with a dollop of whipped cream and a drizzle of extra caramel sauce.
Storage Instructions
- Wrap leftover cake slices tightly in plastic wrap or store in an airtight container in the freezer. Enjoy within 5-7 days for the best taste.
FAQs
Q: Can I use store-bought cake as the base?
A: Yes! Using a pre-made chocolate cake saves time and works perfectly.
Q: Can I make this cake in advance?
A: Absolutely. This cake can be prepared up to 3 days in advance and stored in the freezer.
Q: What can I use instead of caramel sauce?
A: Try using chocolate fudge sauce or peanut butter sauce for a delicious variation.
Conclusion
This Chocolate Caramel Ice Cream Cake combines the best of all dessert worlds—rich chocolate, creamy ice cream, and luscious caramel. Whether it’s for a birthday, dinner party, or casual gathering, this recipe will wow your guests and have everyone reaching for seconds. Try it out and let us know how it turns out!